
The post will give an easy tutorial on how to DIY an accent wall with wood. It can be set up in eight steps. They are:
Measuring up for supplies, marking the studs, cutting the boards, installing tongue & groove boards, installing around electrical outlets, the top trim board, applying stain, and sealing the wood.
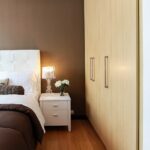
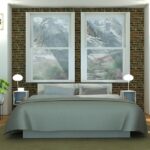
The DIY accent wall with wood turned out even better than I had hoped! The deep green gave the space a little drama and added depth. It was a quick and inexpensive project that made a big difference in our daughter’s room, and she was thrilled with the final result.
Additionally, a dining room or living room would be lovely places to display it! We’ve gotten so many compliments on this project, and the best part is that it can be completed over the course of a weekend with the right equipment and minimal materials.
Table of Contents
Step By Step On How To Diy An Accent Wall With Wood
Measuring Up For Supplies
Measure your wall first so you can determine how much wood to buy. In order to get the pattern exactly as you want it to, it can also be helpful to sketch it out on paper.
Marking The Studs
To build this accent wall, we decided to use 1 x 6 tongue and groove boards. The installation process is quick, simple, and economical when tongue and groove are used.
Finding studs inside the wall behind the sheetrock must come before installing any wood planks on the wall. We’ve had great success with this magnetic stud finder. Use a pencil or a Sharpie to make noticeable marks on the wall that are large and easy to see.
Mark each stud from top to bottom along the entire accent wall in this step. When you’re installing the boards, you’ll be able to easily see where to nail them.
The top and bottom of the wall should both be marked after you locate a stud. Connect your two marks by drawing a line in chalk or using a long level.
Cutting The Boards
You’re ready to begin cutting after measuring the wall and setting up the pattern.
The four boards that will form the wall’s frame should be the first thing you tackle. Beginning with the vertical piece on the left side of the wall, we cut each piece at a 45-degree angle on both ends using a miter saw. We put v(opens in new tab) on the board’s back, mounted it to the wall, and fastened it with finishing nails on both ends. To finish the square, repeat the process with the top, bottom, and right pieces.
Installing Tongue & Groove Boards
Remove any baseboards before you begin installing the Accent Wall With Wood. Place the first board directly on the floor as you work your way up the wall from the bottom. The board’s “tongue” side should be facing up, and its “grooves” side should be downward.
Ascertain that the bottom board is level and firmly seated on the ground. Because it will have an impact on all the boards above it, the bottom board must be absolutely straight! Use a nail gun to secure the first board to the wall once it is in position. The studs will be simple to hit thanks to the stud lines you previously marked on the wall. The board’s length should be nailed with three nails into each stud.
When you add the second board, make sure that the tongue is once again up, and the grooves are down. Insert the board into the first board’s tongue. As soon as the grooves have completely slid into place, apply pressure firmly. It should be impossible for a gap to exist between the tongue and grooves. If you notice an uneven gap, you may need to use a hammer to tap the board down into place.
Installing Around Electrical Outlets
Replicate the previous action, adding boards as you go, and working your way up the wall. You will need to make cutouts if there are any electrical switches or outlets. At first, cutting in electrical outlets might seem a little frightening, but don’t be afraid!
When you get to an electrical box, carefully measure to determine where on the board you need to make a cutout. BEFORE attaching a board to the wall, measure and cut it. This will make the process much safer and simpler. For these more compact cutouts, a jigsaw is a good option.
A similar process occurs if an electrical box falls in between two boards. In the same manner, cut the first board to accommodate the electrical outlet’s lower half. The next board can be cut to create the top half of the cutout once the first board has been mounted to the wall.
The Top Trim Board
Most of the time, you will need to rip a board down to size to fill in the top gap when you reach the top of the wall and are unable to add another full board. Do not worry about this step if you are extremely fortunate and the final full board fits with no gaps at all.
The final board can be a little challenging, particularly if you reside in an older house where the walls and ceilings aren’t exactly level and plumb. The distance from the top board to the ceiling should be measured. Take several measurements of this distance along the accent wall. The board can ideally be ripped to size with a table saw if all the measurements are within about 1/4&Prime.
To make the top board fit, you will need to cut it at a slight angle if your measurements differ by more than 1/4”. A chalk line can be used to mark the board with your specific angles, and you can then cut along the mark to achieve this.
A 1 x 4 trim board was put in place at the top of the accent wall to give it a nice finished appearance.
Applying Stain
The Accent Wall With Wood needed to be stained next, which was the next step. This was my favorite section! In this stage, the rustic appearance I was going for began to take shape. Now, I could almost picture the finished product!
Staining can be done either before or after installing an Accent Wall With Wood; I opted to stain it after. The main reason I went with this method was that I didn’t want to be working in a frigid garage during the winter when we completed this project. However, if I could go back in time, I would have braved the chilly weather to avoid the potent smell in our bedroom! To let it air took DAYS. For a few nights, we were forced to stay in our guest room while the odor subsided.
Any color will do; we used Miniwax Dark Walnut stain. Use whichever color you prefer; this is your chance to be inventive! We stained our DIY distressed wood beam mantle with dark walnut to finish it off.
Stain your new Accent Wall With Wood using a paintbrush. Make sure to give it some time to sit so the wood can absorb the stain. Wipe away any excess after it has soaked into the wood. This is a great use for an old T-shirt or rag.
Sealing The Wood
To protect the wood, go back and add one or two coats of sealant after the stain has dried. In order to be safe, I used two coats of Miniwax Wipe-on Poly Finish Clear.
Your new, gorgeous Accent Wall With Wood will be ready to be admired once the sealant has dried.
Read about: How To Build A Brick Wall: A Simple Step By Step Guide – Affordable Furniture Today
Tips On How To Diy An Accent Wall With Wood
Creating a geometric accent wall is definitely a DIY project, but you can also hire a carpenter to help you realize your vision. Here are some things you should think about before beginning, however you choose to proceed.
Sketching Out An Accent Wall With Wood
Even though it may seem obvious, planning out the layout of your accent wall will help you estimate how much wood you will need to buy and how long the project will take. Of course, more intricate patterns will call for more supplies and effort.
Deciding Style Of An Accent Wall With Wood
Is your accent wall intended to stand out or are you attempting to subtly add interest to your space? That query will assist you in deciding whether to paint your accent wall the same color as the other walls or choose a completely different shade.
An Accent Wall With Wood painted the same color as the adjacent walls provide texture, while one with a different color delivers more of a visual punch.
Remembering To Paint Everything
Don’t forget to paint switches, outlets, and vents in the same shade as the accent wall. Keeping them white while painting the accent wall a different color will make them stand out like a sore thumb.
Do Not Overdecorate
Accent walls don’t really need any additional decorative items because they stand on their own as works of art. It will likely appear too busy to hang artwork or pictures on the wall. Additionally, fitting your wall hangings into some patterns might be a little challenging.
Conclusion
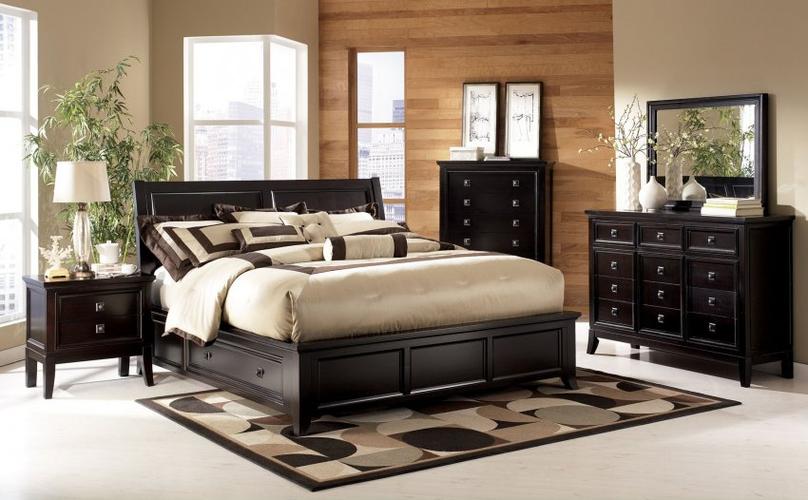
Adding an accent wall with wood is one of my favorite ways to give a space a warm, rich texture. Wooden furniture, crates, picture frames, and yes, even walls are made of wood. Any room can benefit greatly from adding an Accent Wall With Wood!
A DIY accent wall with wood is the ideal solution if you’re looking for a quick way to make a big statement! I am completely smitten with how our master bedroom’s inexpensive shiplap turned out! Over the course of one weekend, the entire project was finished.