
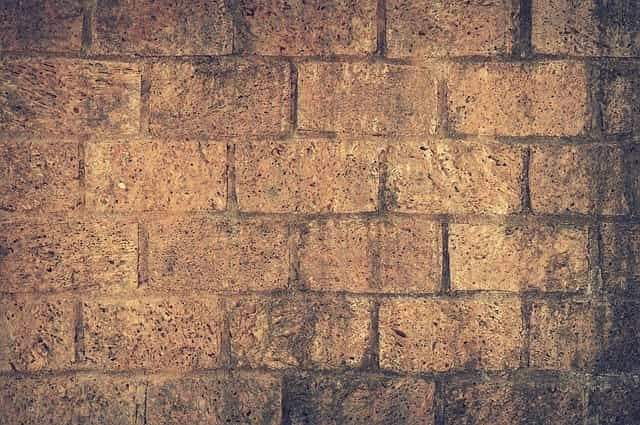
Many people prefer to build a brick wall. But, a lot of them have no idea how to even begin constructing a brick wall. The article will describe the procedures for constructing a wall and how to build a brick wall.
Table of Contents
Required Materials:
- Brick trowel
- Old board
- Tape measure
- Spirit level
- Brick
- string line
- Shovel
- Club hammer
- Bolster
- Stiff brush
- Wheelbarrow
- Dry bristle brush
- Clamps
- Safety glasses
- Spirit level
- String
- Wood
- Cement mix
- Water
- Sand
Step 1: Calculate How Many Bricks You Need
The first step is to determine how many bricks your project needs. Bricks come in various shapes and sizes. Standard British bricks are 215 mm long, 102.5 mm deep, and 65 mm high.
- Don’t forget to consider mortar, which is usually 10 mm thick.
- Before you do anything, you need to measure the area you need.
- Giving up halfway can be annoying, and over-ordering is a costly mistake.
According to experience, there are 60 bricks per square meter for a single-sided skin wall (half brick wall) and 120 bricks per square meter for one brick thick solid wall.
Step 2: Order Bricks
If you need to match with existing bricks, use our brick matching service, or if it does not need to match, just ask us to find a brick for you through our free brick selection service.
When you need it, we will provide you with the right bricks at the right price, so that you can be confident in your wall before it is built!
Then you can buy the remaining materials from the local DIY store.
Third Step: Lay Your Foundation
The foundation of a brick wall is one of its most crucial components. The size of the trench will depend on the width and height of your brick wall, and it serves as the wall’s support. For a brick wall that is up to one meter tall, you will need a trench that is half a meter deep. Before you start digging, double-check your measurements since a sturdy trench is necessary to keep your wall from collapsing.
To determine the ideal depth for the bricks in your trench, drive wooden stakes into the ground. Depending on how long your wall is, space the stakes two to four feet apart. Also, make sure they are perfectly level. Bricks from the first row should fit flush in.
Bricks from the first row should be flush with the ground. Concrete should be poured into the foundation, keeping it level and reaching the tops of the posts. Give it two to three days to dry.
Step 3: Mark Your Guideposts
In order to guarantee that your brickwork is consistently level once you have your foundation in place, you must install gauging rods. Getting a piece of wood and cutting it to the height of your finished wall is the simplest method to accomplish this. Next, mark 65mm lines to indicate the location of each row, also known as a course, if you’re using standard-sized bricks. At either end of your masonry wall, make sure these are freestanding and anchored in the ground.
Set up a string line connecting each measuring rod. Since the first row of bricks will be in the ditch, this will be for the second row. Make sure the line is level, straight, and sag-free.
Step 4: Create The Corners Of Your Brick Wall
First, place bricks where the pillars will begin at each end of your wall. After any necessary foundations have been laid, this should be done. Create a straight guideline between the two outer bricks at brick height using your string line.
Step 5: Mix The Cement
After that, place an old board on top of five shovels of sand and one of cement. To achieve consistent color, turn the shovel. Create a hollow in the center, add the water, and stir. Repeat until the texture is wet but not too loose and smooth and creamy.
Step 6:Lay The First Course Of Bedding Mortar
A 1-2 cm mortar bed should then be laid along the string line. Lay the first brick, starting at one end, and tap it softly to “bed in.” Apply mortar to one end of the following brick to “butter up” it, then about it to the first. Using the string line as a guide, repeat.
Step 7: Build the brick pillars
Place a brick against the wall’s end where you want your pillars to begin, facing the wrong way. Every subsequent course of pillar bricks that you place as you erect the wall must be laid in the opposite direction.
Step 8: Bricks Must Be Cut
You must set half-bricks at specific courses when creating pillars. Place the brick on its side, find the bolster at the split point, and firmly pound the head of the bolster with a club hammer to form a cut. The first time it should separate neatly.
Step 9: Maintain A Single Route For The Pillars
On the pillars, you should always build at least one course higher than the rest of the wall. As you build, raise the string line and bed it into the mortar of the pillars. Each brick’s end should be above the center of the one below it in a stretcher bond.
Step 10: Verify That You Are Using 10mm Mortar Joints
Mortar joints that are horizontal and vertical should be 10mm thick. The distance between the top of each brick and the top of the one below it, when using regular bricks, should be 75mm. It may be a good idea to “joint up” (step 10) as you go if your bricks absorb moisture quickly.
Step 11: Constructing Decorative Brick Soldiers
An appealing alternative for the top of a garden wall is to add a “soldier course.” Lay your bricks along the entire length after turning them vertically. To maintain a uniform finish, use a second, higher string line.
Step 12: How To Complete The Mortar Beds
Use a brick jointer’s rounded edge to scrape mortar into the joints to complete the beds. It is simpler to remove any excess mortar if you start with the horizontal lines and move on to the vertical ones after.
Step 13: Tidy Up
Last but not least, gently brush the completed wall and sweep away any mortar that has spilled onto the floor before it hardens. Water can be used to remove cement off the floor, but stay clear of your freshly constructed wall while doing so!
Step 14: Finish Your Wall
Once you’ve reached the final level, it’s time for the final touches.
Depending on the purpose of the masonry wall, you can decide to use different connection modes.
One example is the soldiers’ courtyard, where the bricks turn vertically, with both ends facing outward.
You can use many different variations to improve the visual aesthetic of the wall.
Once you have all the bricks ready, do a quick spot check and use a mud shovel to patch up any cracks along the walls.
Use a soft brush to remove excess mortar from brick walls before they dry.
Be sure to remove the mortar from the floor.
You also need to cover the walls overnight with a tarpaulin or polythene cloth to prevent rain or frost.
This is temporary and should only be needed on the first night.
If bricks are to match existing bricks, they may need to be colored and/or weather-treated.
Summary
Building a brick wall yourself is a cheap and enjoyable activity. We have all you need, whether you want to learn how to lay bricks or want to create a garden wall. Although the fundamentals of brick and mortar are simple to comprehend, building a wall of professional quality requires preparation and practice. We’re here to assist you with a step-by-step tutorial on how to construct a brick wall because of this.