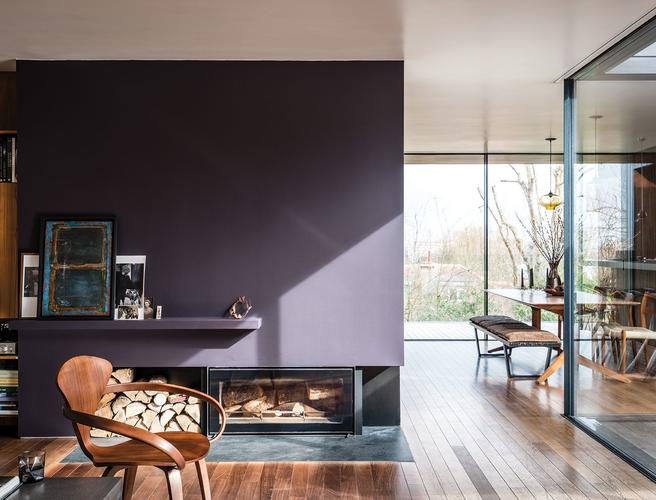
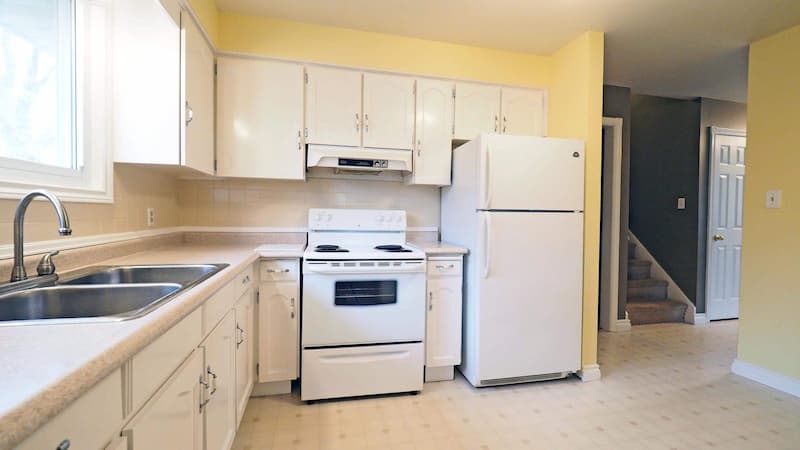
In the world of decorating, accent walls are still very much in style. The versatility of these simple and fashionable color accents will ensure their continued popularity. How to paint an accent wall? For your accent wall, as well as other surfaces and materials, you have an infinite number of paint options. Even where you put your accent wall is entirely up to you. Because your house is special, your accent wall need to be too. If you understand the crucial dos and don’ts, accent walls can be employed in any room.
Table of Contents
An Accent Wall Is What?
A wall that stands out from the surrounding walls by having a different color, tint, design, or material is known as an accent wall.
How To Paint An Accent Wall?
Ready To Paint An Accent Wall
In order to start preparing to paint the wall, I first stick the edge of the outer wall with adhesive tape to prevent the paint from sticking to the adjacent wall. This step may be a painful process, but it is very important to ensure that the paint line is clean at the end of the project.
After pasting the wall with adhesive tape, I went back and filled the nail holes left when hanging pictures on the wall with putty. Filling these holes will ensure that the paint goes on perfectly. It is the ideal dent, hole, and crack that you may create on your wall. After the hole was filled, I went back and wiped the dirt off the wall with a wet rag.
Determine Your Design Scope
If all you intend to do in this room is paint the walls, the journey will be straightforward. However, if you are thinking about redesigning the entire space, pause before you begin. After you’ve chosen a new room palette, you should choose the accent wall color if you want to change the color of your furniture or décor.
Find The Perfect Color
While choosing the color of your accent wall is not the most difficult task, it may be the most challenging. When choosing colors, Wagner’s painting experts advise adhering to the 60-30-10 rule: 60% of the room should be your primary color, 30% should be your secondary color, and 10% should be your accent color. In light of this, you should choose a very small color from your current color scheme to use as your working color. Consider using some bold or bright colors that stand out significantly from the other colors in the space.
When you’ve decided on a color, visit your neighborhood paint store to see what other options are available. Purchase sample cans (usually $10 or less) and some small brushes once your selection has been reduced to two or three colors. A small area of the wall should be painted with each color when you get home, allowed to dry, and then checked a few days later. Before purchasing large quantities of paint, you will have a clear understanding of the color of the area.
Remove All Socket Covers And Wall Decorations
To prevent painting, you must place these in a different room. Placing the decorations on the wall in a different room will give you more room to move around.
Posters should be removed gently, and any remaining tape on the wall should be scraped off. Painting over anything that will be visible or altering the wall’s texture is not a good idea.
Remove any remaining screws or nails from the decorations. It will look cheap and unprofessional to paint these nails or screws.
Apply Adhesive Tape To The Door And Wall’s Outline
Consequently, you won’t find it near the border. To prevent the adhesive tape from coming off when you paint, make sure that the entire contour wall is covered and that it is firmly fixed.
Using Blankets, Paper, Or Sheets, Cover The Floor
So that the paint won’t penetrate the floor when it comes in contact with it, the item you’re looking for should be thicker. Utilize anything used or aged that you don’t mind getting stained with paint. Consider using adhesive tape to try to fix it on the wall. The least you should do is lay your floor low, even though this is challenging for some types of sheets. It’s time to start painting once you’ve taped off the entire wall with masking tape.

Open The Paint Can And Mix The Paint Thoroughly
To stir the paint, use the stick that the home décor retailer has provided. Alternatively, you can use a piece of clean scrap wood.
Fill the boiling pot with the necessary amount of paint before beginning to outline the wall with a smaller brush. For larger surfaces, use a roller brush. Don’t be afraid to brush some areas of the wall twice if the paint doesn’t cover the entire surface. Don’t worry, and take your time. To make the process easier and keep it fun, play music. Use a wet rag to remove any paint that unintentionally touches the ceiling, adjacent walls, or floors. Keep the wipes wet while painting, and wash them off if they get too much paint on them.
Read about: How To Build A Brick Wall: A Simple Step By Step Guide – Affordable Furniture Today
Three Hours Must Pass After The First Coat Of Paint Has Dried
By preparing dinner, watching a movie, or performing other tasks, you can take a break. To hasten the drying process, make sure to open the window and reduce the ceiling fan’s speed. A windy day or a high fan setting should be avoided in order to avoid loose objects or floor coverings flying off the floor or sticking to the wall.
Apply The Second Coat Of Paint
Once the previous steps have been completed, turn on the light to check that the wall’s paint is uniform throughout. Remove all of the tapes once the second coat has dried completely. Slowly pull down rather than up in the process. Examine the wall for any stains that you might need to clean off with a small brush.
Reunite The Group In The Room
After painting and drying your accent wall, you may finally reassemble your room. Prior to returning the decor, bring the furniture inside. You could discover that some of the furnishings need to be adjusted because the new accent wall will change the color scheme of the space, which is another reason why the walls were spackled before painting. Reorganize as necessary, keeping in mind the 60-30-10 ratio as you incorporate fresh furnishings to highlight the eye-catching hues in your accent wall.
It’s time to get to work and cross things off of this list now that you know how to paint your accent wall.
Don’t Just Consider Accent Walls
Consider additional applications for an accent wall. Have you given the ceiling any thought? Adding color to the ceiling is a stylish design trend. You can use this ceiling color as an accent wall. Bright colors or even muted hues can be used to create accent ceilings. White crown molding adds style and helps to distinguish the color of the walls from the ceiling.
Remember To Use Wallpaper
A wonderful option for accent walls is wallpaper. Without making a long-term commitment, the most recent temporary wallpapers can give you a stylish look. For a trendy look, go for wallpaper with lovely patterns and hues. Temporary wallpaper is a smart method for renters to add their own flair to their space.
Still unsure of your color choice? Learn which color scheme is best for you by taking our quick personality test!
Conclusion
This post demonstrates how to add some lively colors to your space and get rid of a simple, dull, white wall. The addition of an accent wall is equivalent to adding an exclamation point to a sentence. A focus point that is much more visually striking is also created by an accent wall, which can completely alter the atmosphere of your home. It’s the most up-to-date method for remodeling your house quickly and easily while you’re on a tight budget.


